My 3.5 year old HP Proliant Gen7 MicroServer’s power supply fan starting getting noisy, so I set out to find a replacement. I had a similar issue with the GPU fan on my Sapphire Radeon HD 5770 about a year ago, and I remember from that project, finding a specialty replacement fan isn’t easy.
I scoured forums for hours trying to find a drop-in replacement, but wasn’t very successful. Most people seem to prefer swapping out the stock PSU for a PicoPSU. That moves the transformer outside of the case (like a laptop power supply) but leaves an ugly hole in the back of the system with wires sticking out. I prefer keeping to stock designs when I can, so I wanted to narrow down at least a replacement fan that would fit the stock PSU.
The HP ProLiant MicroServer owners’ thread on Hardforum.com was one of the best resources. Specifically, post 896 from bluefull gave several possible drop-in replacements for the stock T&T 4020HH12S-ND1 fan. Additionally, there was some great information in the HP ProLiant MicroServer N40L Owner’s Thread *Part 5* on avforums.com. Shawry, beginning in post #558, describes the main issue with these fans – even though they are rated for 12V, the PSU is actually only putting out 5V. One fan in particular caught my eye, the Noiseblock BlackSilent Pro series. According to the specifications on the overclockers.co.uk site, the fan had a starting voltage of 5V and an operating voltage of 5-13.2V which I had hoped would work as a drop-in replacement. I was able to find the NB BlackSilent Pro PM-2 40mm in the US at frozencpu.com and ordered one.
The fan uses a standard 3-pin Molex connector with a signaling cable, but the stock fan uses a smaller 2-pin 4mm mini-Molex connector. Unfortunately, I forgot to order a 2-pin to 3-pin adapter, so I had to resort to cutting the old connector from the stock fan and splicing it onto the new fan’s power cable. I wasn’t overly concerned with doing this as the NB BlackSilent Pro is ingeniously designed with a break-away power connector for using different length power cables and the fan comes with both a 20cm and 50cm cable. At any rate, the fan fits perfectly into the psu, but I wasn’t able to get it to spin up by connecting it to the fan header inside the PSU. Not to worry, the design of the fan and the PSU lends itself to allowing you to connect the fan to a standard 4-pin Molex power connector while still ensuring proper fit into the case.
I installed the fan so the power connector would route outside of the power supply like so:
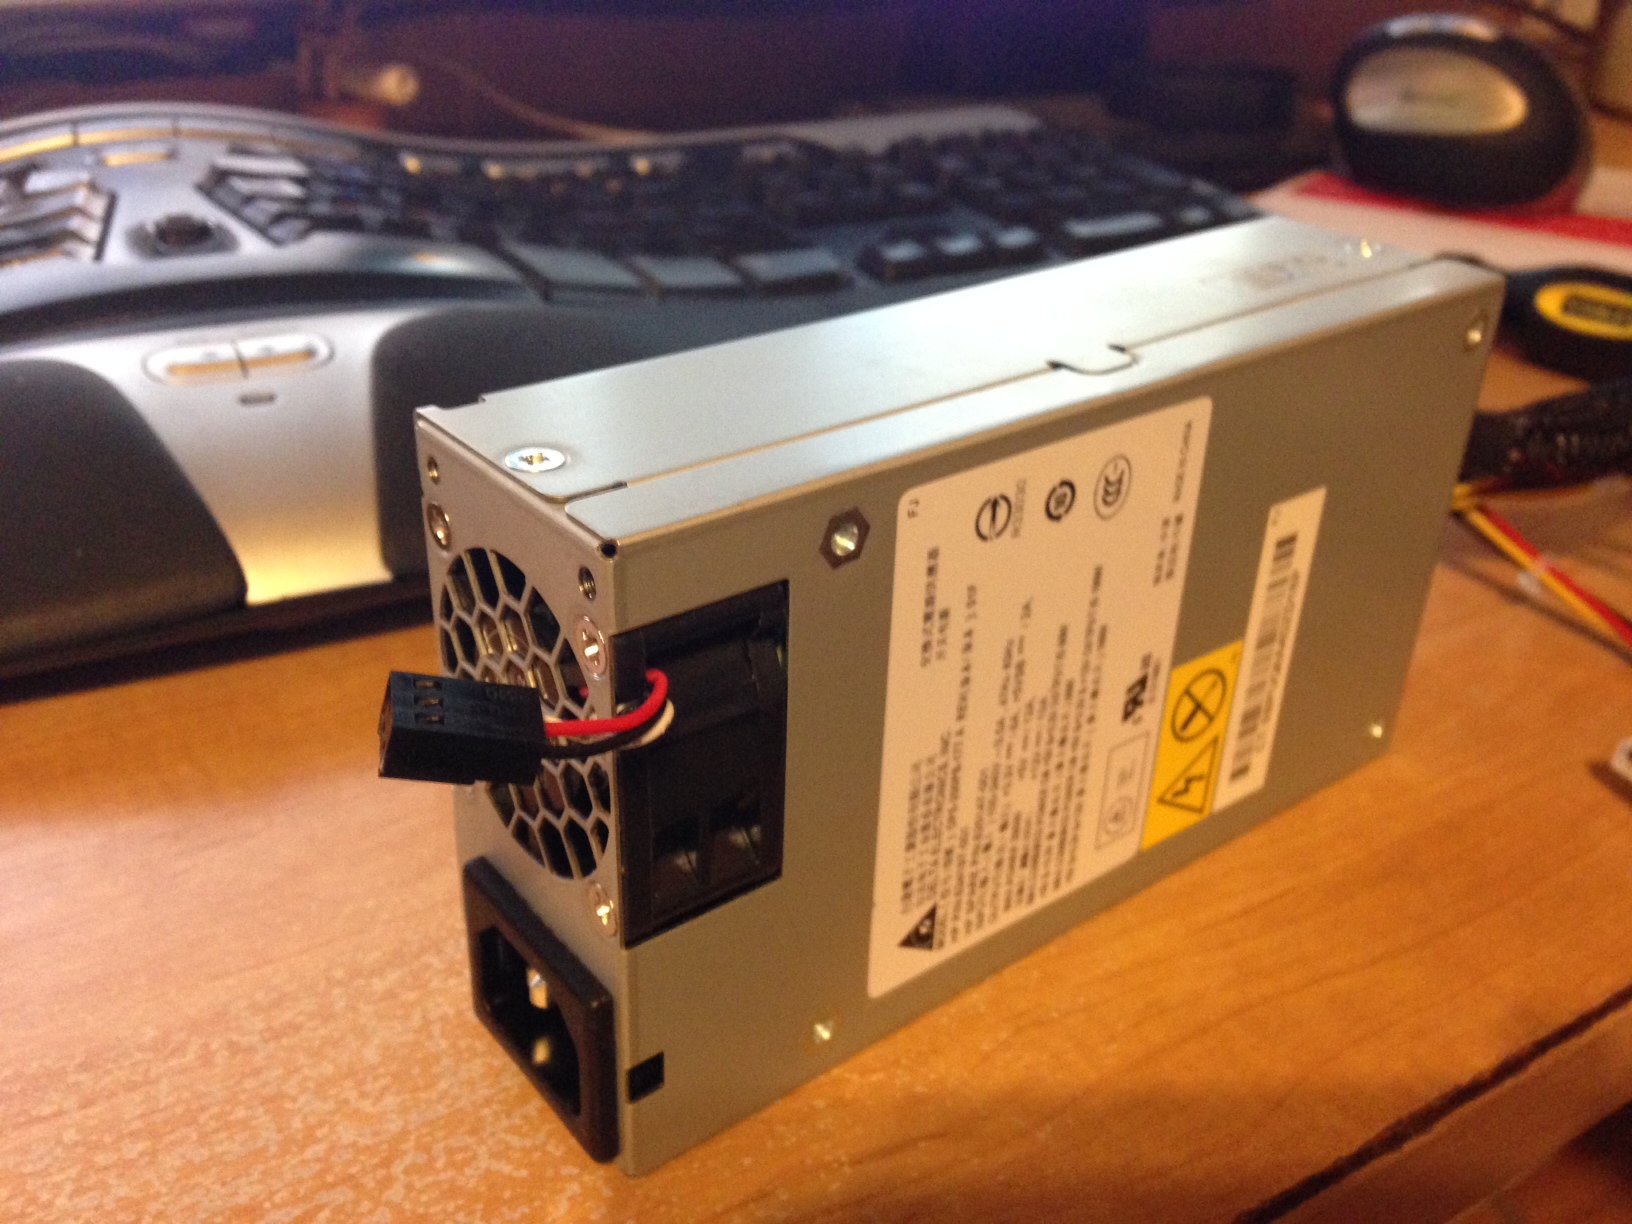
The Proliant MicroServer PSU with the replacement NoiseBlocker BlackSilent Pro fan
I was able to easily slide the power supply back into place, and the connector was then accessible between the PSU and case fan:
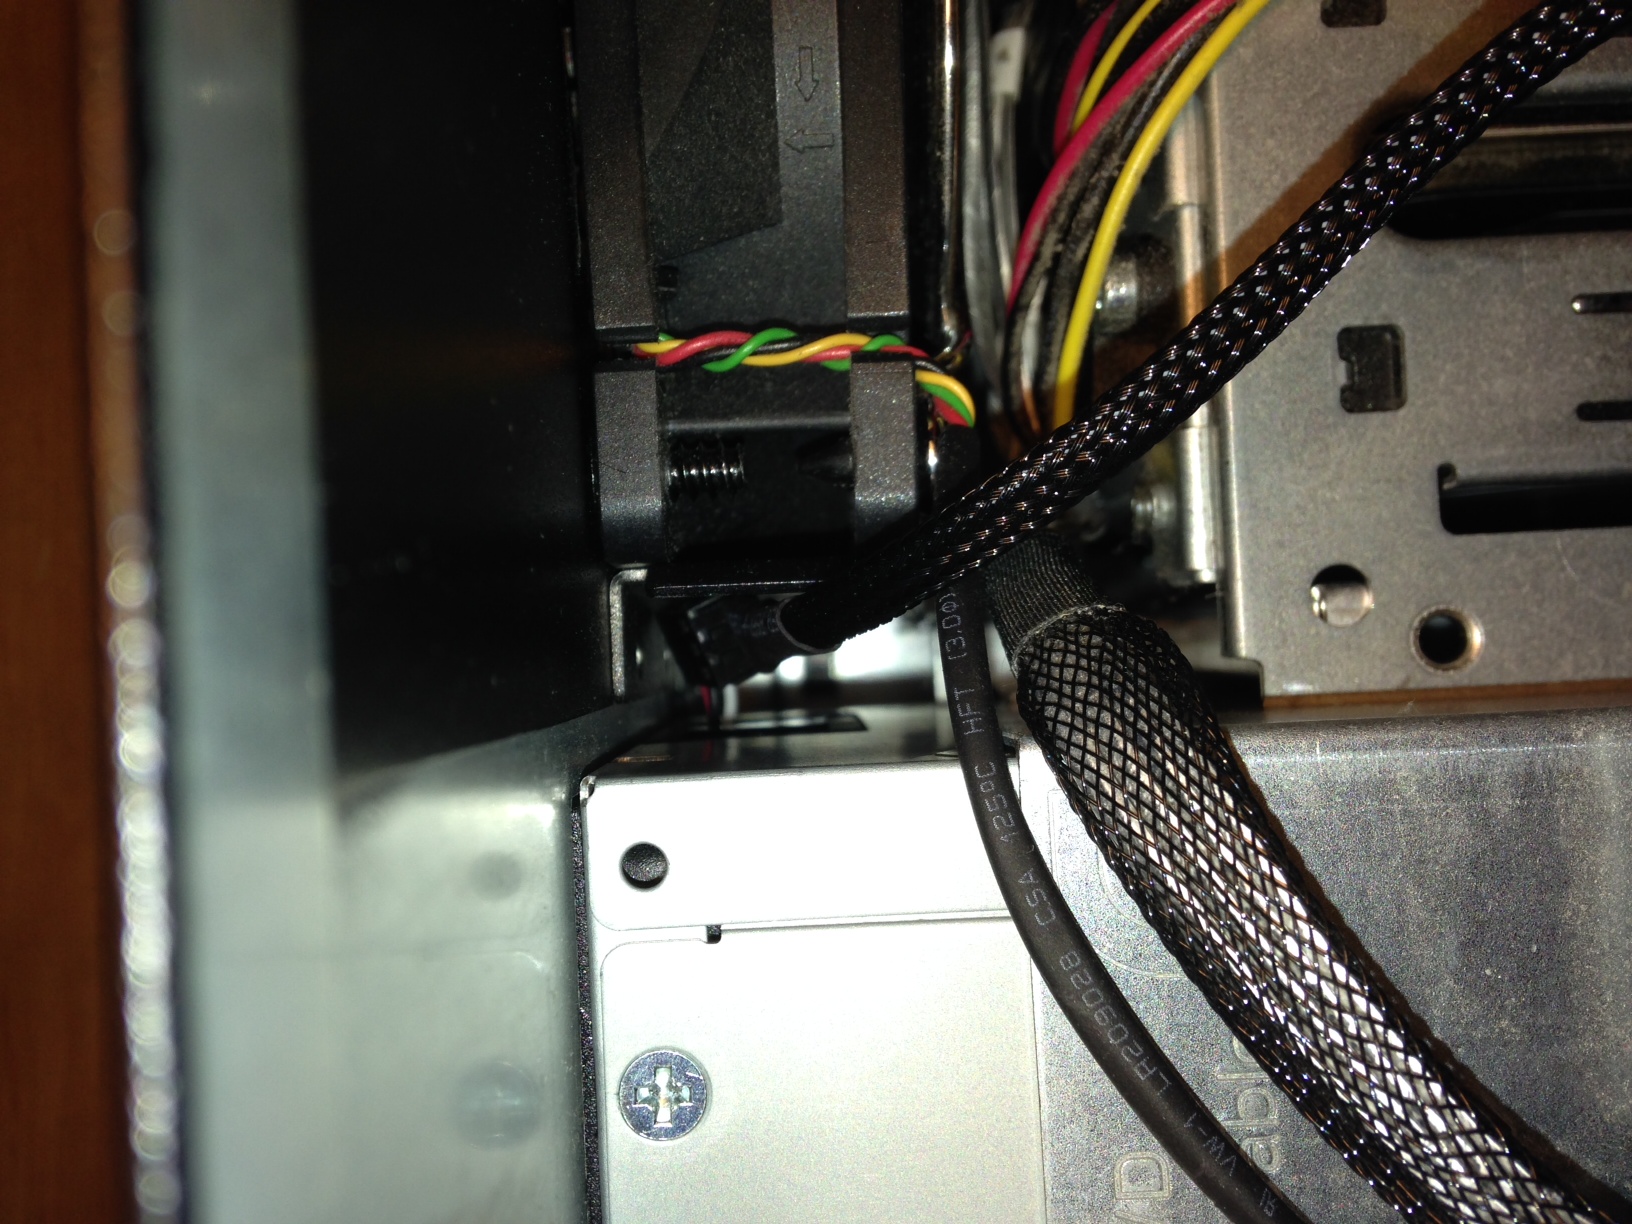
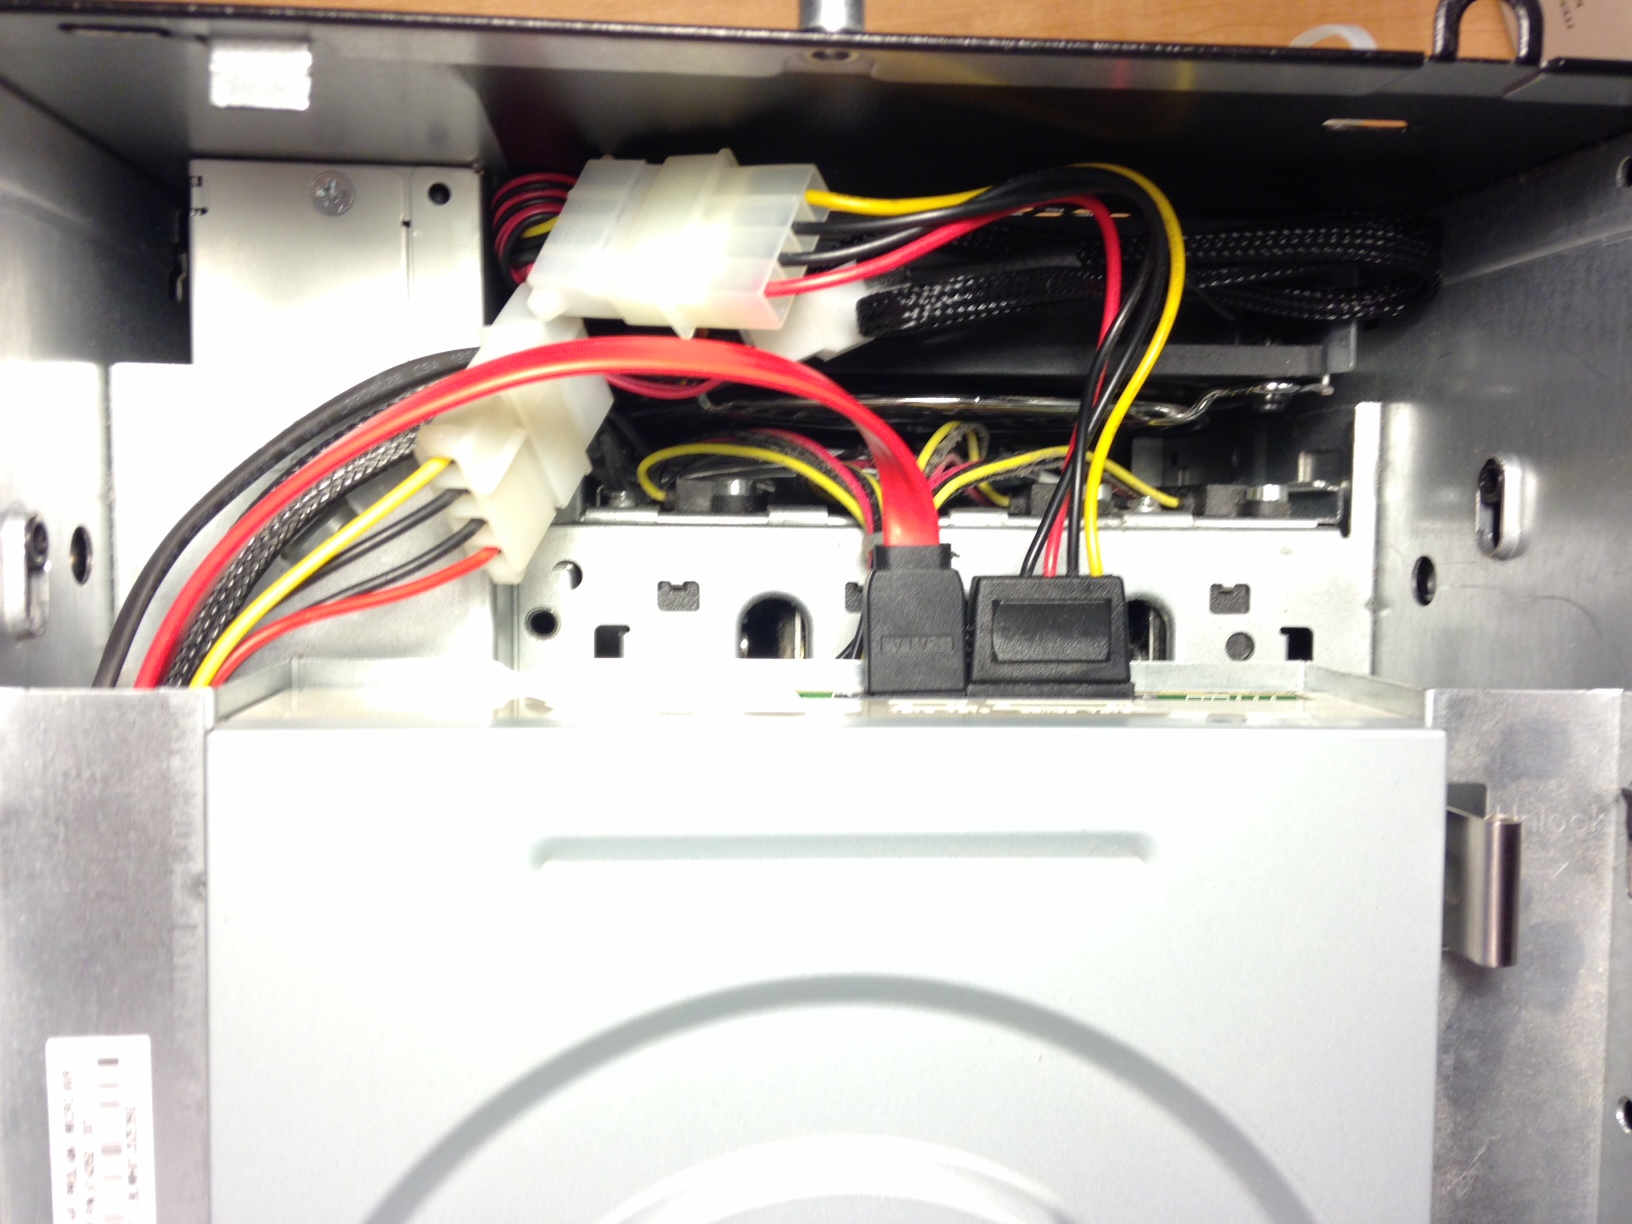
The CPU power cable next to the MicroServer case fan
I then used a standard 4-pin to 3-pin adapter to piggy back off the optical drive power connector:
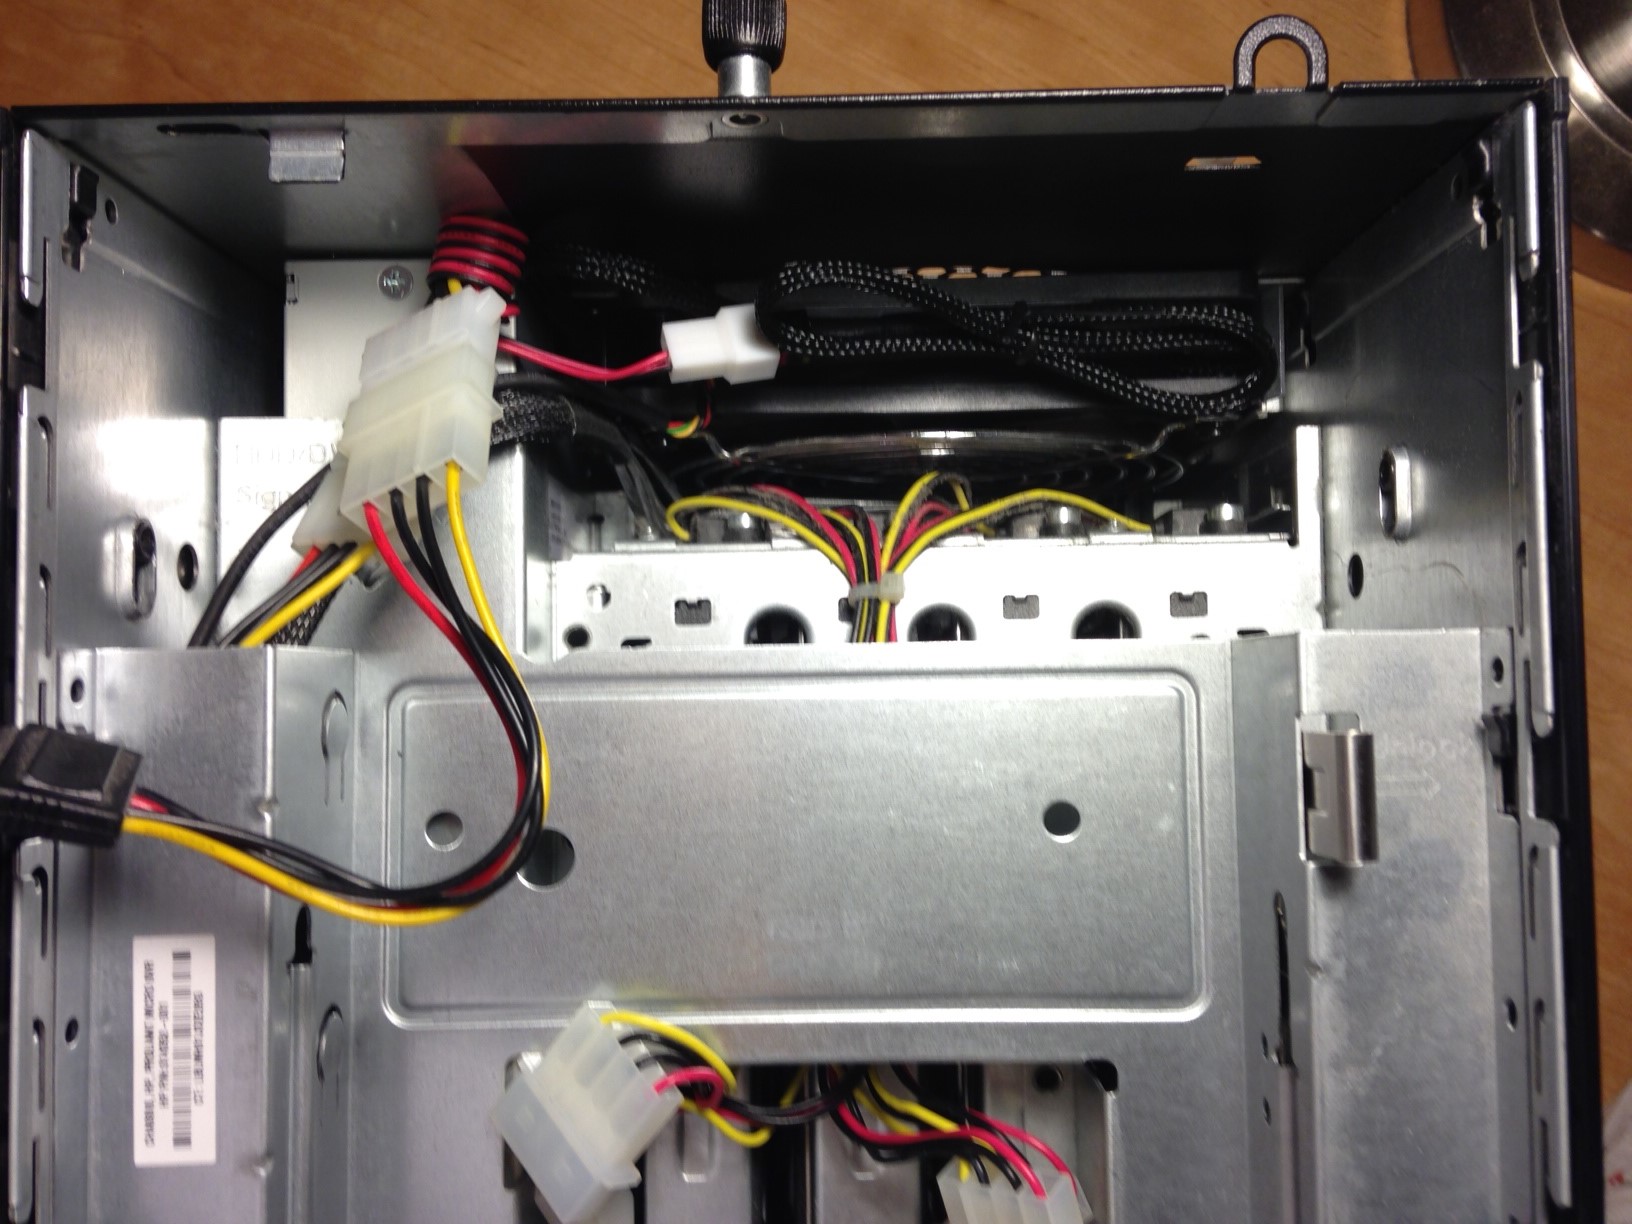
The PSU power cable connected to a 3-pin to 4-pin Molex adapter
Everything fits nicely in the space behind the optical drive:
Fan spun up without issue once the server was powered on.
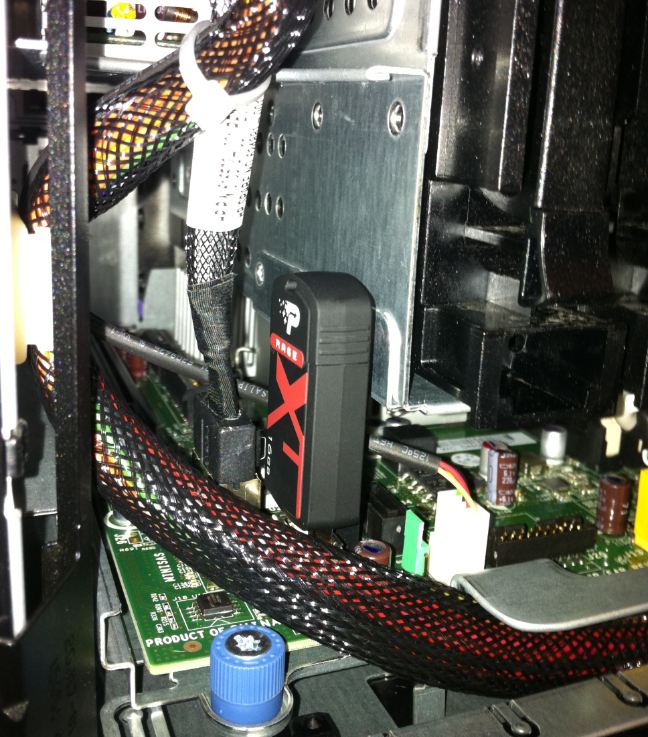
A side note, I had originally thought the noise was coming from the case fan and went through the effort of ordering a Cougar Vortex CF-V12HPB PWM fan as a replacement, only to find out the HP MicroServer fan header uses a custom pinout. The server will not boot if it does not properly detect the case fan, so if replacing the case fan, you’ll need to swap the conductor pins to the proper slots.