I have been wanting to upgrade my home server for quite some time and have been eyeballing WHS machines as I was looking for something with a small footprint. While I would normally build my own system, cases for mini-ITX boards that have space for at least 4 HDD’s are quite expensive. In fact, the only one I could find that really fit the bill was the Chenbro case. I also had my eye on the ACER H340 series (now H341 and H342), but when I found the HP Proliant MicroServer, it was exactly what I was looking for.
A quick peek at the specs:
- AMD Athlon II Neo N36L Dual-Core processor @ 1.3GHz w/ 2M L2 cache
- 2 DIMM slots supporting up to 8GB DDR3 PC3-10600E unbuffered ECC RAM @ 800MHz (while ECC is supported, it is not required)
- AMD RS785E/SB820M Chipset
- Integrated SATA controller with RAID0,1 (this is done in the driver)
- 4-port SATA backplane supports up to 4x2TB LFF SATA drives (ships with single 160GB HDD)
- Single ODD SATA port (forced IDE mode)
- Embedded Broadcom NC107i PCI Express Gigabit Ethernet Server Adapter supports PXE & WOL
- Onboard VGA with 128MB shared video RAM
- 1x PCI-e Gen2 16x half-height full length slot (max 25W)
- 1x PCI-e Gen2 1x half-height full length slot
- 7 USB ports (4 on the front, 2 in the back, 1 internal)
- 1 rear eSATA port
- 200W 1U Flex ATX Power Supply
- Trusted Platform Module support
- IPMI 2.0 compliant
- Optional ILO management card
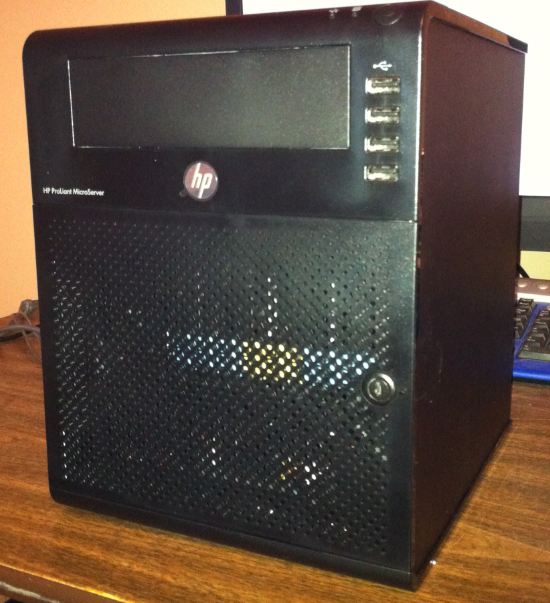
I made a few small modifications to the base configuration by adding 2x4GB PC3-10666 DDR3 RAM modules (this was non-ECC consumer grade RAM), a CD/DVD-ROM drive, 2x1TB Western Digital Caviar Green HDD’s, and a 16GB Patriot memory stick (to run ESXi). The integrated CPU supports AMD-V and XD bit required for virtualization, so running ESXi (and I suspect Hyper-V) works fine. The system itself is light-weight and the perfect size (10.5″ x 8.3″ x 10.2″). With the exception of the HDD caddies, the case is very sturdy – metal all around.
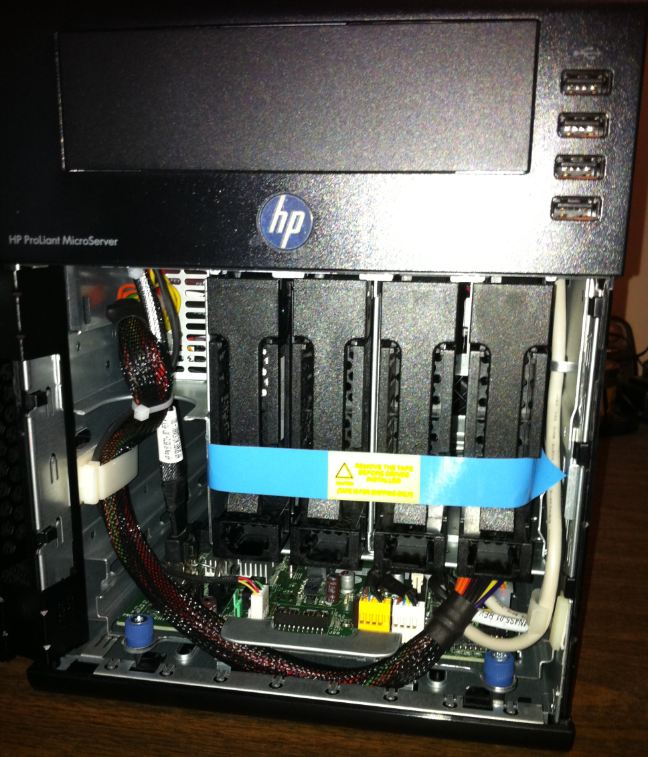
Great compact design in my opinion. Cables are routed well and the motherboard is mounted to a tray secured by two thumb screws. You need to disconnect cables and remove the motherboard in order to install PCI-e cards and RAM.
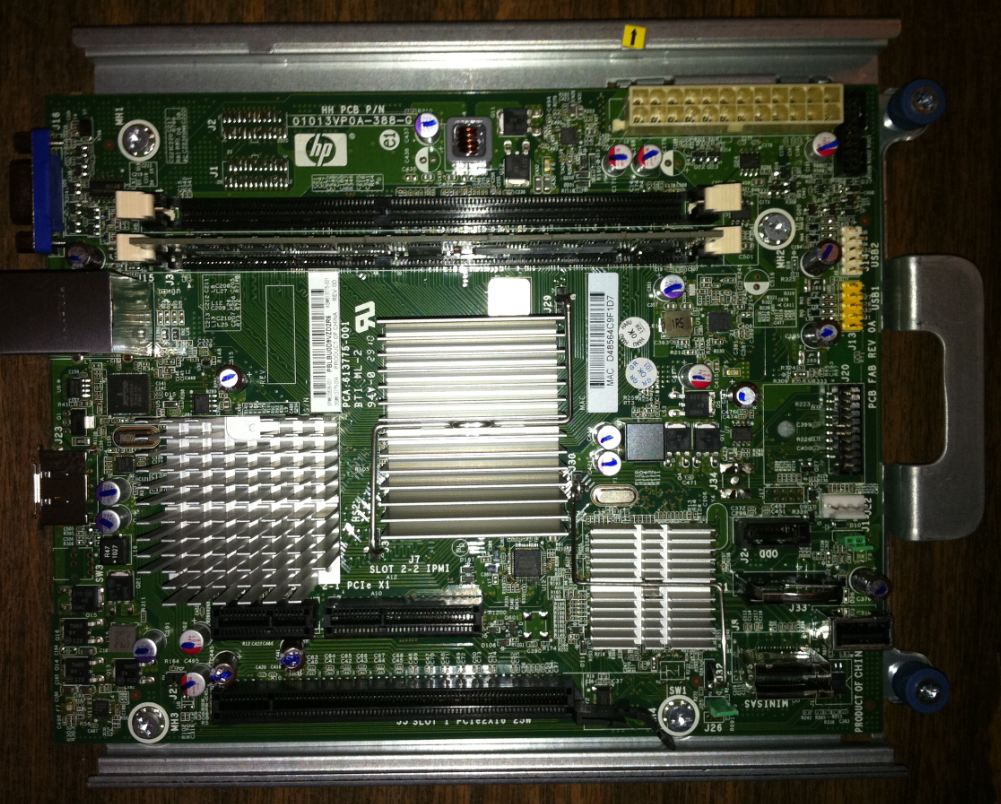
You’ll notice what looks like a PCI-e x4 slot on the motherboard. That’s actually for the optional remote management card and adding it will cover the PCI-e x1 slot. The motherboard sits underneath the HDD housing, so RAM with certain size heat-spreaders may not fit. The internal USB connection is in the lower left-hand corner of the motherboard. You’ll notice there is plenty of room for a large USB flash drive if you so choose.
The HDD drive caddies are plastic and the backplane has necessary SATA connections. Screws are located on the bottom inside the front door. There’s also a handy torx driver for working on the system.
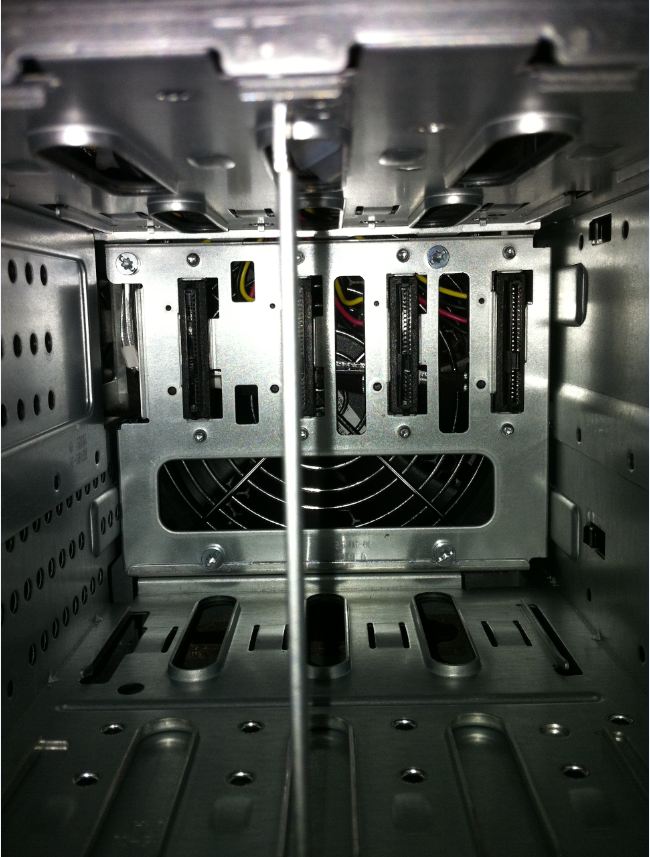
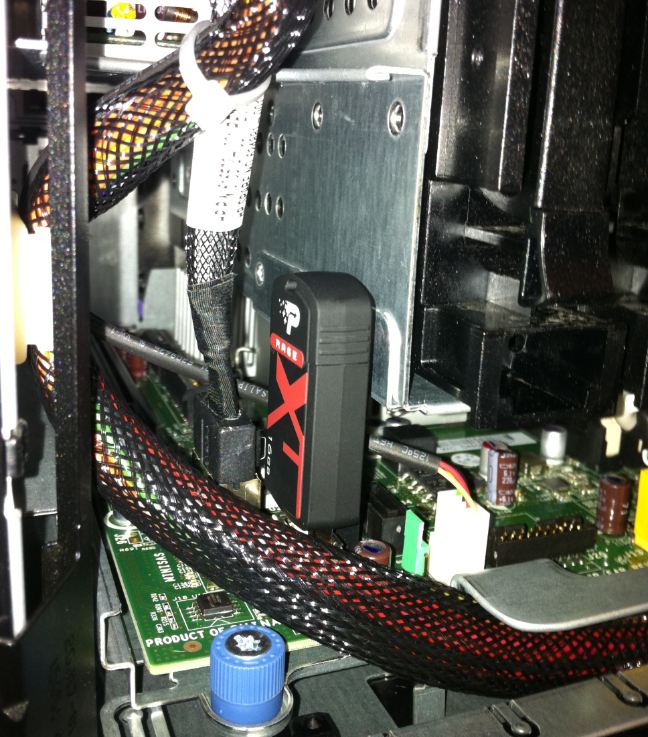
Plenty of clearance for the USB flash drive that will hold the ESXi installation.
As far as the ESXi installation goes, couldn’t be simpler. I attempted to use SYSLINUX to install ESXi from a USB flash drive, but couldn’t get the installation going so I hit Best Buy for a cheap SATA CD/DVD-ROM drive. Note that the system has just a standard Molex power connector for the ODD, so you’ll need to purchase a Molex to SATA power cable. Total installation time was only about 10 minutes. I am using the supplied 160GB for VMDK storage and will use RDM for the 1TB HDD’s to create a software R1 array since the embedded RAID controller is not supported by ESXi.
While 8GB of RAM won’t be enough to virtualize a datacenter, there should be plenty of RAM to run a few Virtual Machines. I was able to P2V my domain controller (was an Optiplex GX1 PII 400MHz box with 256MB – I know … well past it’s prime) in about an hour (only had 100Mbps nic) and am currently downloading Windows Home Server codename Vail to test out WHS in a virtual machine. All-in-all, if you’re looking for a home server or virtual test lab, this box is a great fit!